HARDNESS
Hardness testing services include:
- Nanoindentation and Micro Indentation (Vickers and MPa units)
- Micro, Vickers
- Rockwell (all scales, 1/100 point resolution)
- Shore Durometer (A, B, C and D)
- Brinell low load
Rockwell measurements with NIST, ISO and ASTM settings.
Nanoindentation, also known as instrumented indentation, can be used for bulk materials and thick coatings; it is however especially appropriate for small features, thin coatings and materials such as glass and ceramics that crack under too much load.
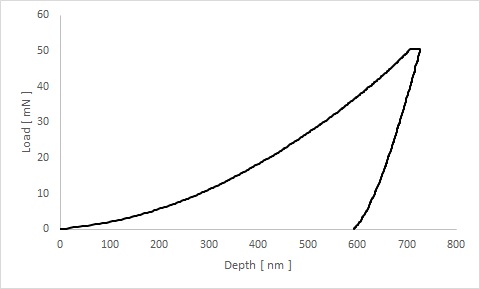
Properties such as hardness, elastic modulus and creep can be determined with a single indent. It is based on the analysis of the load-penetration curve measured while doing an imprint. It is computer-controlled and it is not influenced by the operator's judgement of the imprint' shape.
It is often the case that hardness testing is performed using too much load given the dimensions of the sample or feature to be measured. Many are mistakenly using conventional measurement techniques when they should be using nanoindentation.
ELASTIC MODULUS
Instrumented indentation (nanoindentation/micro indentation) can be used to measure:
- Elastic modulus & stiffness
- Creep
When a sample cannot be tested using conventional tensile testing method, indentation testing can be used to measure the creep and the elastic modulus. When the maximum load is kept constant for a given time prior to unloading, a "creeping" material will show a plateau.
The displacement that occurs during that given time can precisely be measured and the creep computed.
The elastic modulus and the stiffness can also be extracted from the data curve given that the Poisson's ratio is known.
INDENTATION FRACTURE TOUGHNESS
Techniques:
- Nanoindentation and micro indentation
- High load Vickers hardness testing
Cracking (crack generation) can be studied using either indentation or scratch testing depending on the applications.
Fracture toughness, K1C, can be computed when long enough cracks are generated by the indentation process. In some cases, the indentation curve will also show the exact load at which cracking occurred.
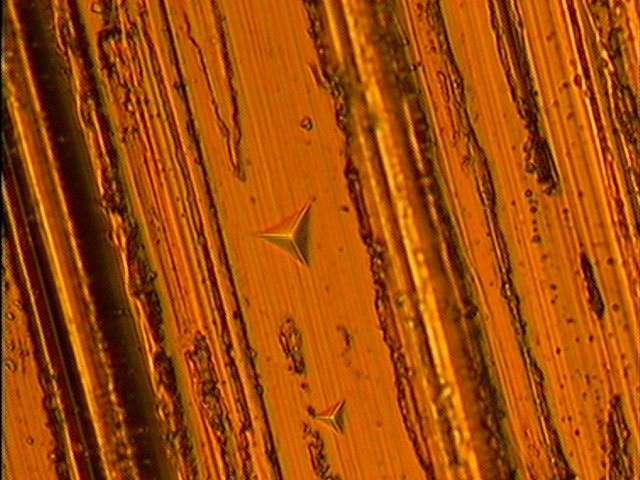
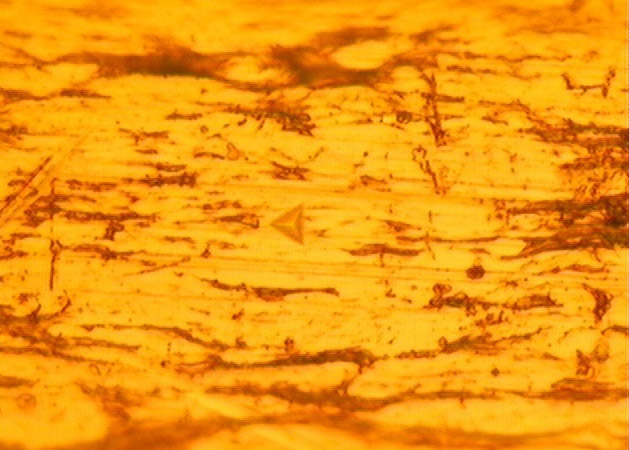
Precise positioning of indent
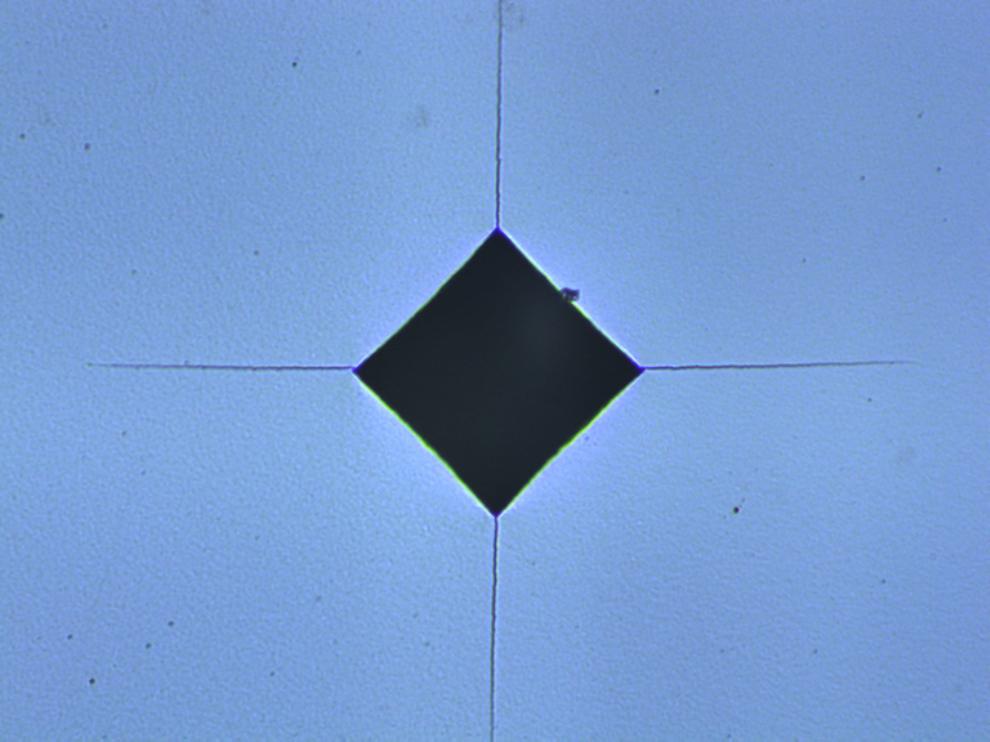
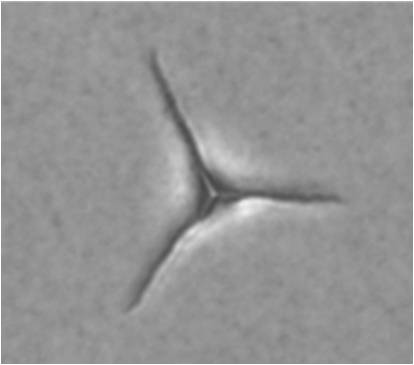
Fracture toughness using IIT
Testing includes:
ASTM B294
ASTM C748
ASTM D785
ASTM E18
ASTM E384
ASTM E2546
